As a beginner in the world of video editing, mastering the essential video editing techniques can seem daunting.
However, with practice and the right guidance, you can elevate your videos to a professional level.
In this article, we’ll explore the 15 best video editing techniques that every beginner should master.
From basic cuts to color grading, these techniques will help you create engaging and visually appealing videos.
Whether you’re creating content for social media, YouTube, or personal projects, these video editing techniques will be your foundation for success.
So, let’s dive in and discover the 15 best video editing techniques that will take your beginner skills to the next level.
We strongly recommend that you check out our guide on how to take advantage of AI in today’s passive income economy.
Table of Contents
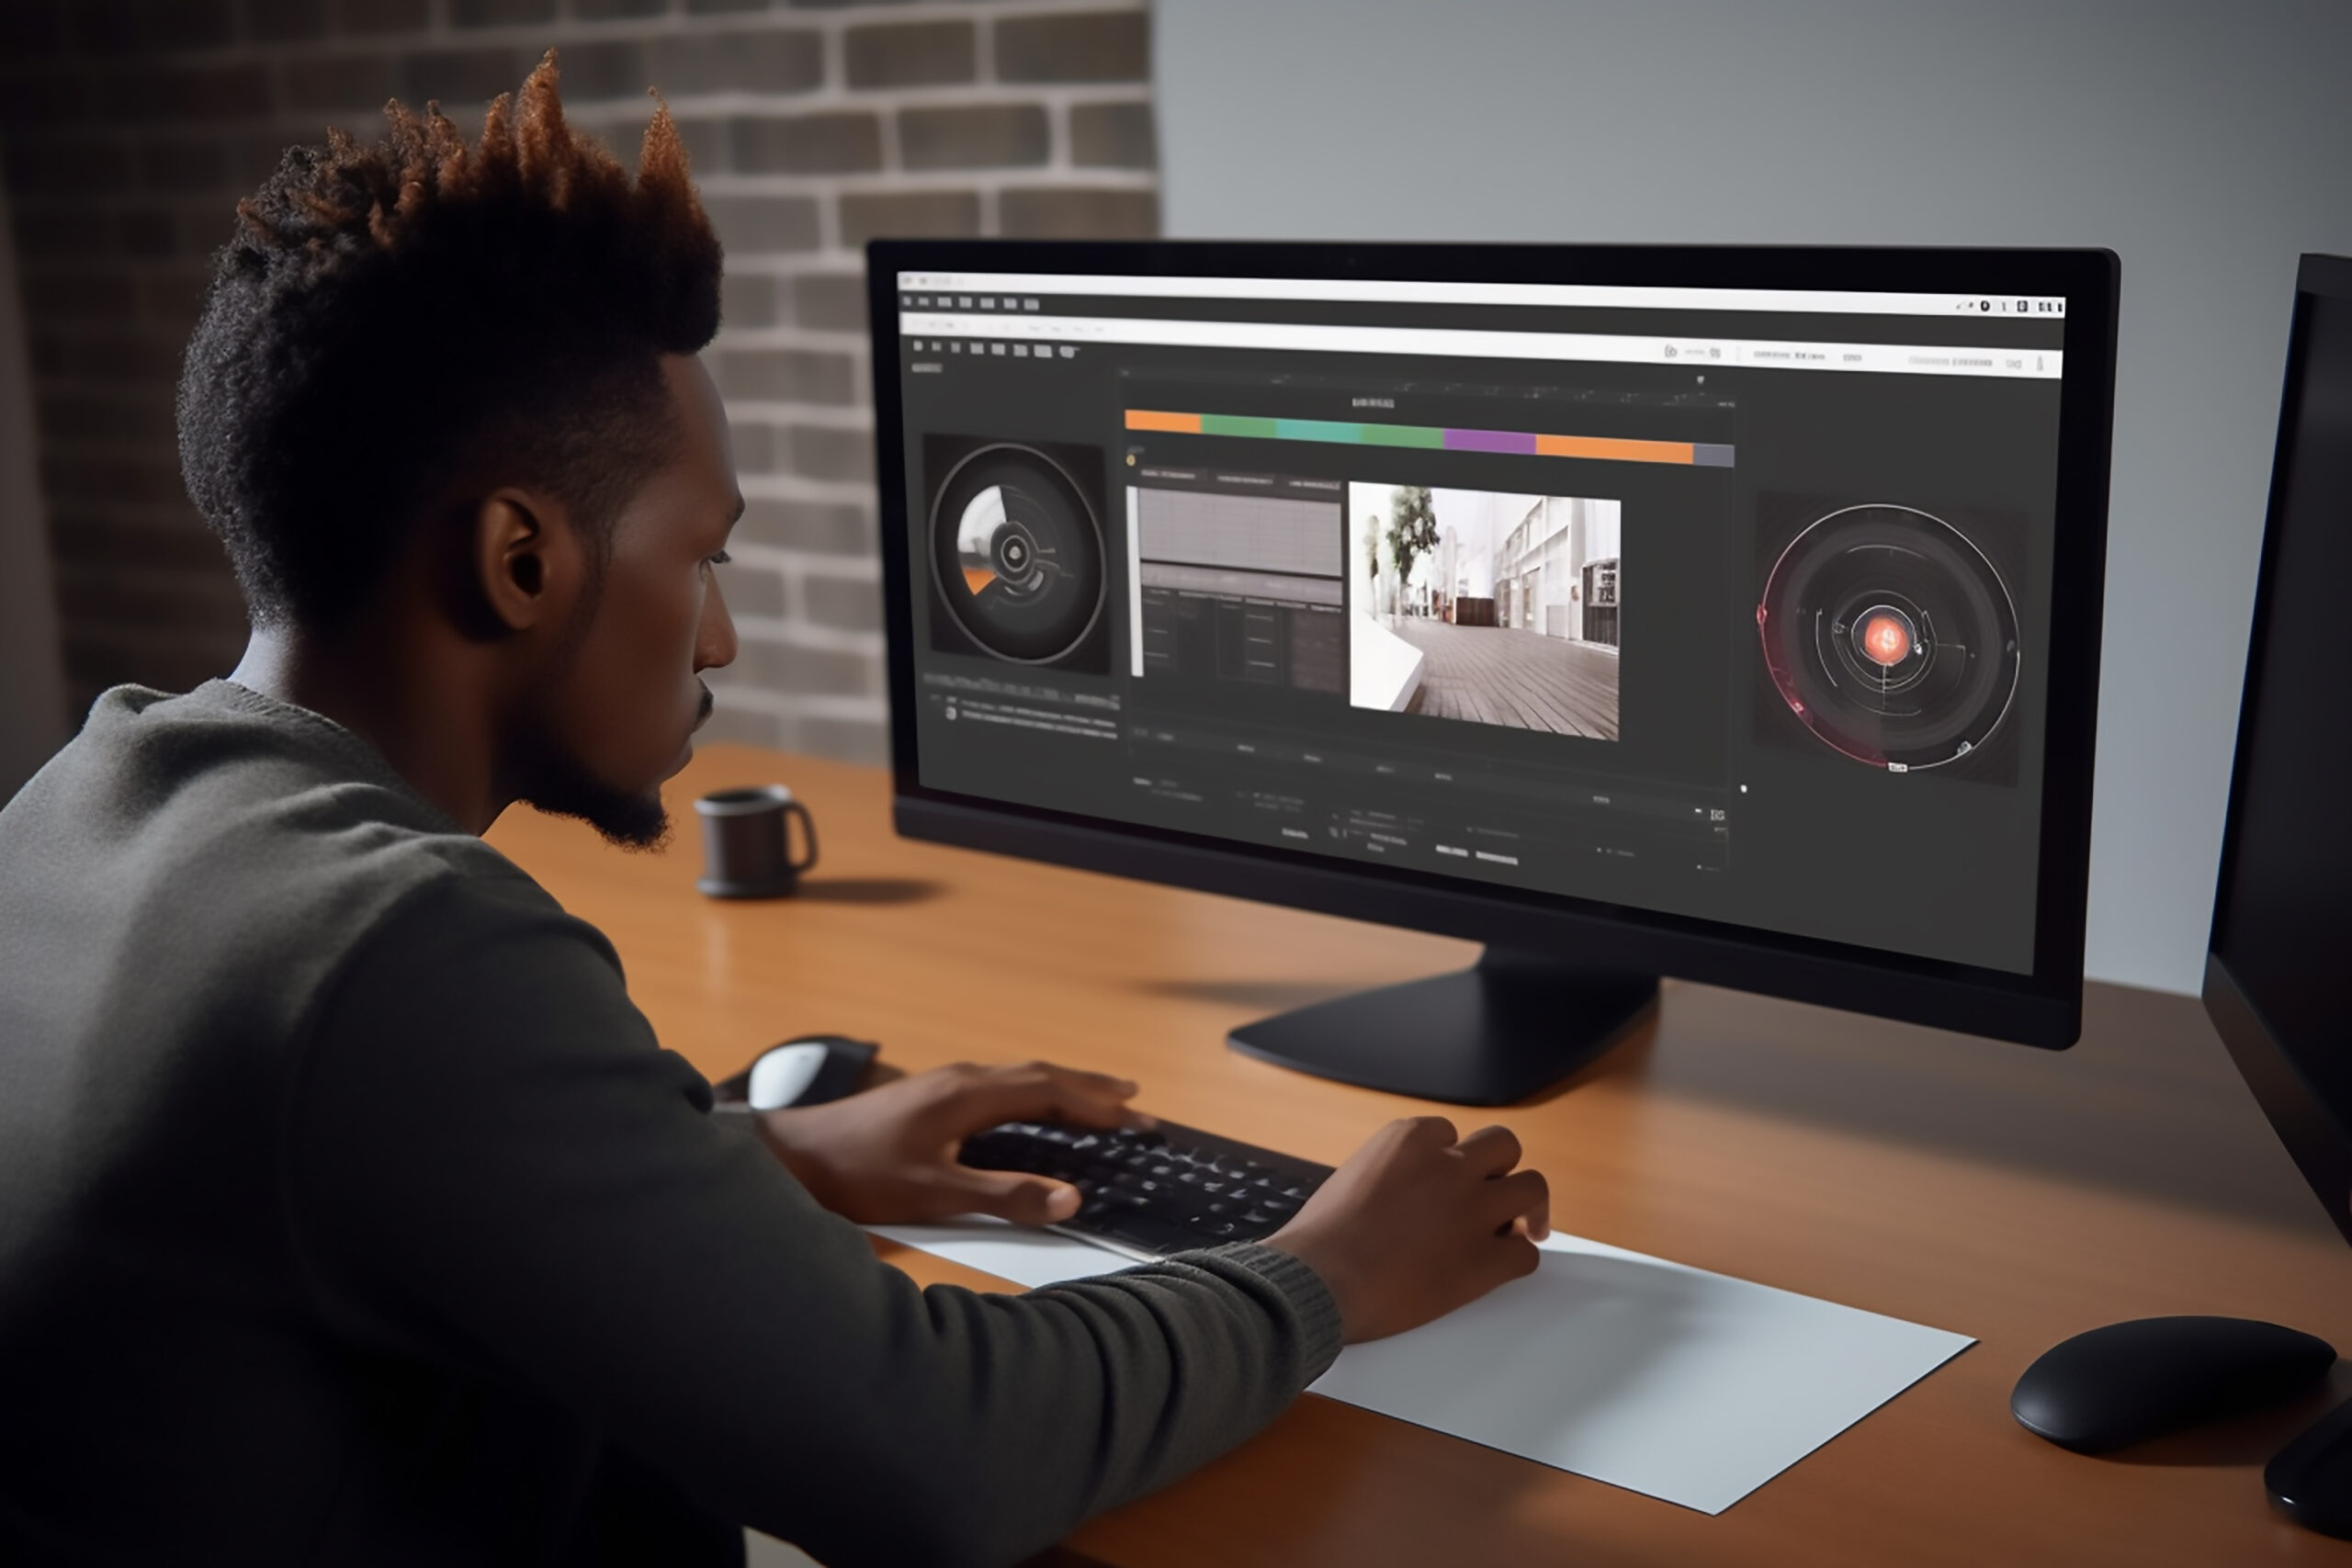
Essential Video Editing Techniques for Beginners
1. Cutting and Trimming
One of the most fundamental video editing techniques is cutting and trimming your footage.
This technique involves removing unwanted sections of your video and keeping the essential parts.
To cut and trim your footage, use the razor tool or split tool in your video editing software.
Place the playhead where you want to make the cut and click the razor or split button.
You can then delete the unwanted section or move it to a different part of your timeline.
Cutting and trimming help you create a more concise and engaging video by removing any dead space or irrelevant content.
2. Transitions
Transitions are another essential aspect of video editing techniques that beginners should master.
Transitions help you move smoothly from one clip to another, creating a seamless viewing experience for your audience.
Some common transitions include dissolves, wipes, and fades.
To add a transition, place it between two clips on your timeline.
Adjust the duration of the transition to control how long it lasts.
Be careful not to overuse transitions, as they can become distracting if used too frequently.
3. Audio Editing
Audio is just as important as visuals when it comes to creating engaging videos.
As a beginner, it’s crucial to master basic audio editing video editing techniques.
Start by adjusting the volume levels of your audio clips to ensure a consistent volume throughout your video.
You can also use audio filters to remove background noise or enhance the quality of your audio.
If your video includes music, make sure to choose tracks that complement your visuals and adjust the volume so that it doesn’t overpower your dialogue or other important audio elements.
Advanced Video Editing Techniques to Elevate Your Videos
4. Color Correction and Grading
Color correction and grading are video editing techniques that can take your videos to the next level.
Color correction involves adjusting the colors in your footage to ensure a consistent look throughout your video.
This includes adjusting the white balance, exposure, and saturation of your clips.
Color grading, on the other hand, involves stylizing your footage to create a specific mood or aesthetic.
You can use color grading to create a warm, nostalgic feel or a cool, futuristic look.
To get started with color correction and grading, experiment with the color tools in your video editing software.
5. Speed Ramping
Speed ramping is a video editing technique that involves changing the speed of your footage for dramatic effect.
This technique is often used in action sequences or to highlight a particular moment in your video.
To create a speed ramp, you’ll need to use keyframes to adjust the speed of your clip over time.
Start by placing a keyframe at the beginning and end of the section you want to speed up or slow down.
Then, adjust the speed of the clip between the keyframes to create a smooth transition.
Speed ramping can add visual interest to your videos and help you create engaging, dynamic sequences.
6. Motion Graphics and Visual Effects
Motion graphics and visual effects are advanced video editing techniques that can help you create stunning, professional-looking videos.
Motion graphics involve creating animated text, logos, and other graphical elements to add visual interest to your videos.
Visual effects, on the other hand, involve creating or manipulating elements within your footage to create a specific look or feel.
To get started with motion graphics and visual effects, you can use templates or plugins available in your video editing software.
As you become more advanced, you can create your own custom graphics and effects to truly make your videos stand out.
7. Masking and Compositing
Masking and compositing are video editing techniques that allow you to combine multiple elements into a single shot.
Masking involves hiding or revealing specific parts of a clip, while compositing involves layering multiple clips together to create a single image.
These techniques are often used to create special effects or to remove unwanted elements from a shot.
To create a mask, use the pen tool or shape tools in your video editing software to draw around the area you want to hide or reveal.
To composite multiple clips together, place them on separate tracks in your timeline and adjust their opacity and blending modes to create a seamless image.
8. Titles and Lower Thirds
Titles and lower thirds are essential video editing techniques for adding text to your videos.
Titles are used to introduce your video or to display important information, while lower thirds are used to identify speakers or provide additional context.
To create titles and lower thirds, use the text tools in your video editing software.
Choose a font and color that complement your video’s overall aesthetic, and make sure the text is easy to read.
You can also use animations or graphics to make your titles and lower thirds more visually interesting.
By mastering these essential and advanced video editing techniques, you’ll be well on your way to creating professional-looking videos that engage and inspire your audience.
Remember to practice regularly and don’t be afraid to experiment with different techniques and styles to find what works best for you.
With time and dedication, you’ll be able to take your video editing skills to the next level and create truly stunning videos.
FAQ
What are the 5 stages of video editing?
The five stages of video editing are:
- Logging and organizing: This involves reviewing your footage, selecting the best takes, and organizing them into bins or folders.
- Rough cut: In this stage, you assemble your selected clips into a rough timeline, focusing on the overall structure and flow of your video.
- Fine cut: Here, you refine your rough cut by making more precise edits, adjusting the timing and pacing of your clips, and adding transitions.
- Audio editing: This stage involves editing and mixing your audio, including dialogue, sound effects, and music, to ensure a balanced and engaging soundtrack.
- Final cut and export: In the final stage, you make any last-minute adjustments, add titles and graphics, and export your video in the desired format for distribution.
What is the method of video editing?
The method of video editing typically involves the following steps:
- Import your footage into your video editing software.
- Review and organize your footage, selecting the best takes and marking them for use.
- Create a rough cut by assembling your selected clips into a timeline.
- Refine your rough cut by making more precise edits, adjusting the timing and pacing, and adding transitions.
- Edit and mix your audio, including dialogue, sound effects, and music.
- Add titles, graphics, and any other visual elements.
- Make final adjustments and export your video in the desired format.
What is editing technique?
Editing technique refers to the various methods and strategies used to manipulate and arrange video footage to create a cohesive and engaging final product.
Some common editing techniques include:
- Cutting: Removing unwanted sections of footage and combining the remaining parts.
- Transitions: Using effects like dissolves, wipes, or fades to move from one clip to another.
- Pacing: Adjusting the timing and rhythm of your edits to control the flow and energy of your video.
- Montage: Combining short clips to convey a passage of time, a series of events, or an emotional state.
- Continuity editing: Ensuring that your edits maintain the logical flow of time and space within your video.
What are different types of video editing?
There are several types of video editing, each with its own focus and techniques:
- Narrative editing: Used in films and storytelling videos, this type of editing focuses on creating a coherent and engaging story arc.
- Documentary editing: This type of editing is used in non-fiction videos and focuses on organizing footage to convey information and create a compelling narrative.
- Commercial editing: Used in advertising and promotional videos, commercial editing focuses on creating short, attention-grabbing videos that effectively convey a message.
- Social media editing: This type of editing is optimized for social media platforms and focuses on creating short, visually engaging videos that capture the viewer’s attention.
- Educational editing: Used in instructional videos and online courses, educational editing focuses on presenting information clearly and concisely.
- Artistic editing: This type of editing is used in music videos, experimental films, and other creative projects, and often involves unconventional techniques and styles to create a unique visual experience.
We strongly recommend that you check out our guide on how to take advantage of AI in today’s passive income economy.